After some post-game-two refreshments we got right on with game three, "Probe among the Olive Groves" (we also threw in a nice little vineyard for good measure). Here's the original map from the KgvL PSC.

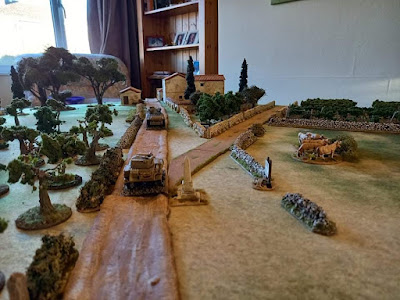
For our game, the FJs deploy along the North Eastern edge whilst the Australians advance along the road from the South West. Some of the hedges were replaced with low stone walls but we agreed the same level of cover. The field at the 'top' was replaced with a vineyard. Dave had also made a splendid sunken lane stone wall feature so that helped remind us to treat the lane from the fork to the edge of the buildings as having restricted visibility and improved cover.
Dave kindly reset the scenery and I have to say we were quite pleased with how our combined scenic efforts looked. As I mentioned before, my pics were not really good enough to use, but here’s a couple of pics of the ‘prototype’ battlefield that Dave and I used to figure out what extras we might need.


The red dice represent the trees, etc that Dave was bringing. He also brought some more walls and vines, but hopefully you get the idea.
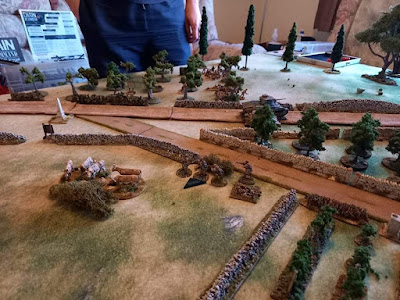
If memory serves then Dave got a few extra chaps from the scattered drop, but these only really helped offset the chaps he had lost contesting the hill in game two. The patrol phase went quite well for the Germans as they held my JOPs back to the olive grove and next to the monument where the road forks. I’d really hoped to get further forward but crafty manoeuvring by Dave saw him get the upper hand!
My supports were a Matilda, a MkVI, a section and an adjutant to help keep things moving. Dave had a tripod MG34 and an AT rifle. My plan was to try to keep him distracted with the armour whilst my lads made a dash for the line. But those plans had to change when I saw Dave’s deployment and associated lines of sight. The tanks became my focus but I knew the MkVI was vulnerable.
Here we can see Allied armour pushing forward at speed! But those buildings hid a pesky Pzb38 AT rifle so the brave little MkVI pressed on with some trepidation.

However, despite some fine heroics by Dave’s lads, the Aussies would not be held back.

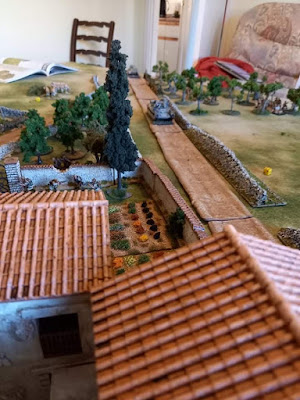
A concerted push on the German right flank saw an FJ squad in the stables forced to retreat as the Matilda and a section led by the platoon sergeant pushed towards the baseline.

The few battered, shocked Germans in the farm buildings could only look on as the Allies thundered past to claim a hard fought victory. Another fantastic game! Dave’s lads took a bit of a beating in this battle but he gets a fresh platoon for the next game, “Olive Oil Factory on the Flank”. Due to other commitments game four isn’t scheduled until the end of the month.
Comments
Post a Comment